
Its finally time for the laundry room makeover tutorial! This room took me about 5 months total to finish with some breaks in between and some big learning curves (it didn’t help that I changed plans approximately 16 times). I made the mistakes so you don’t have to!

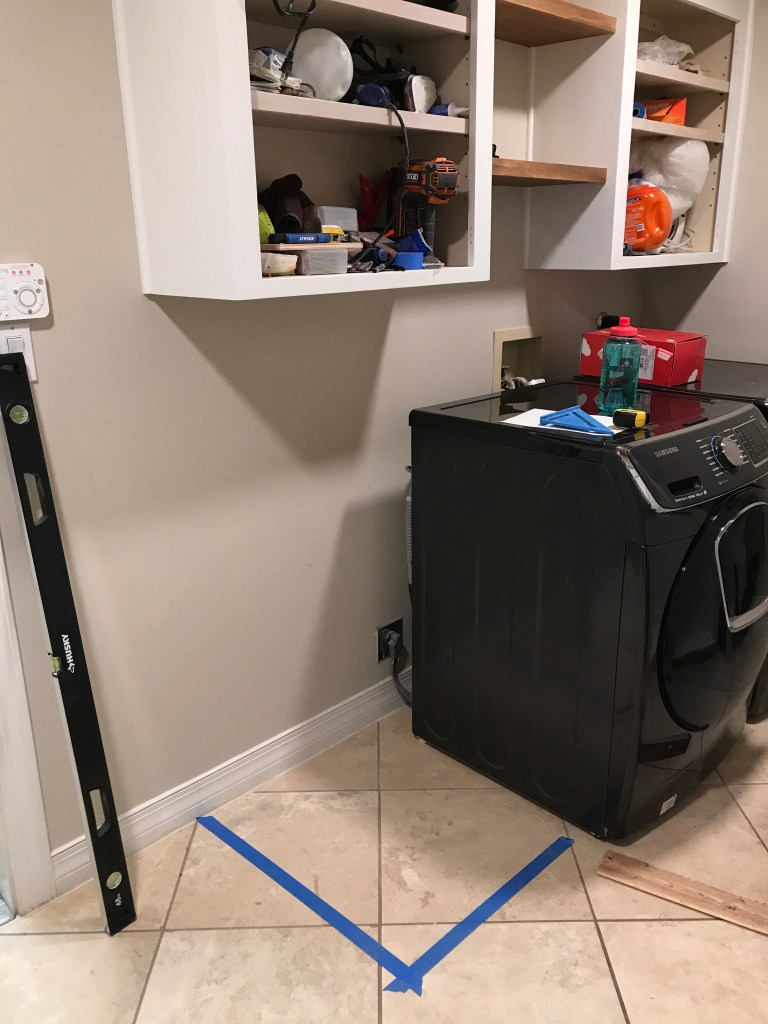
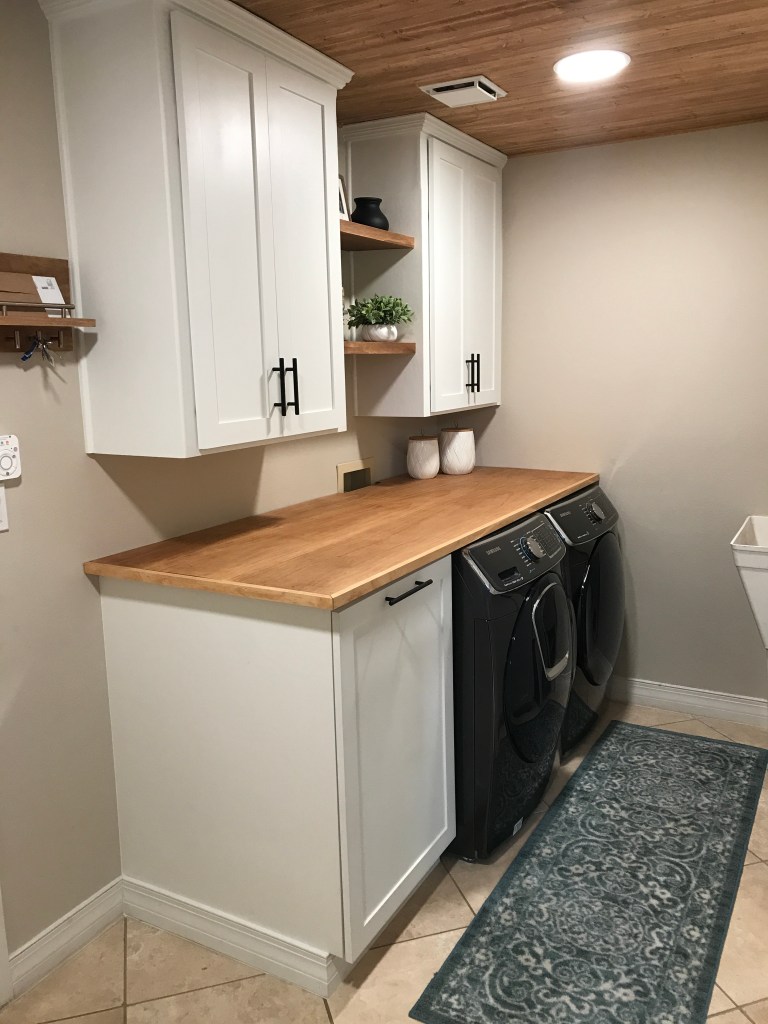
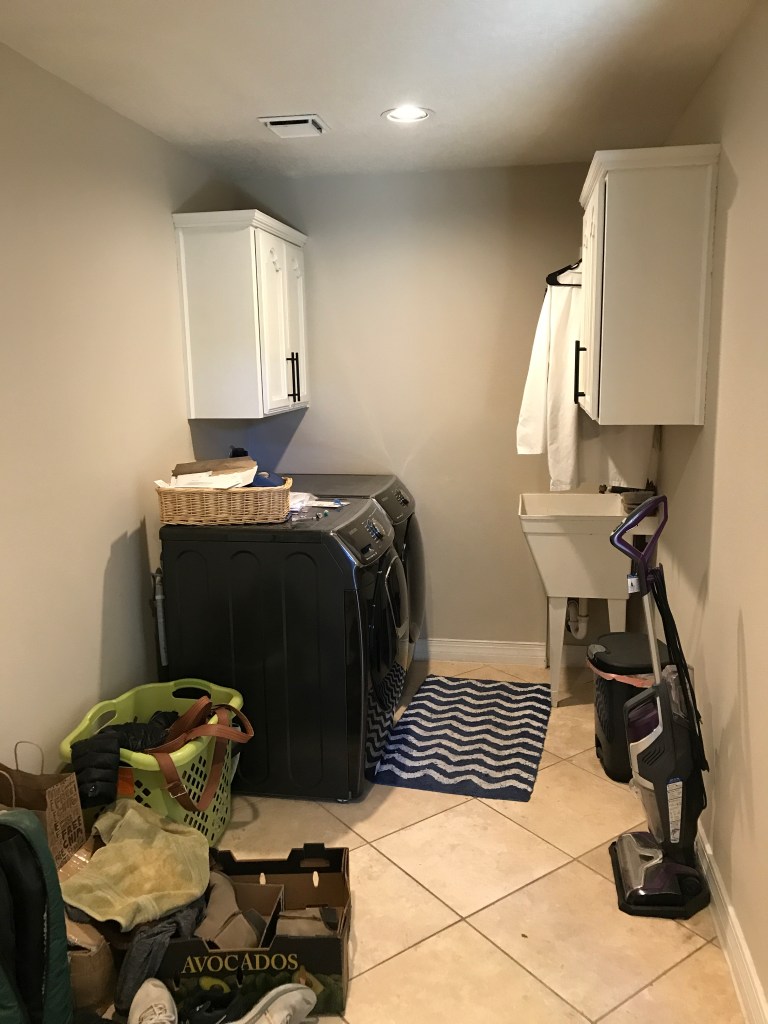
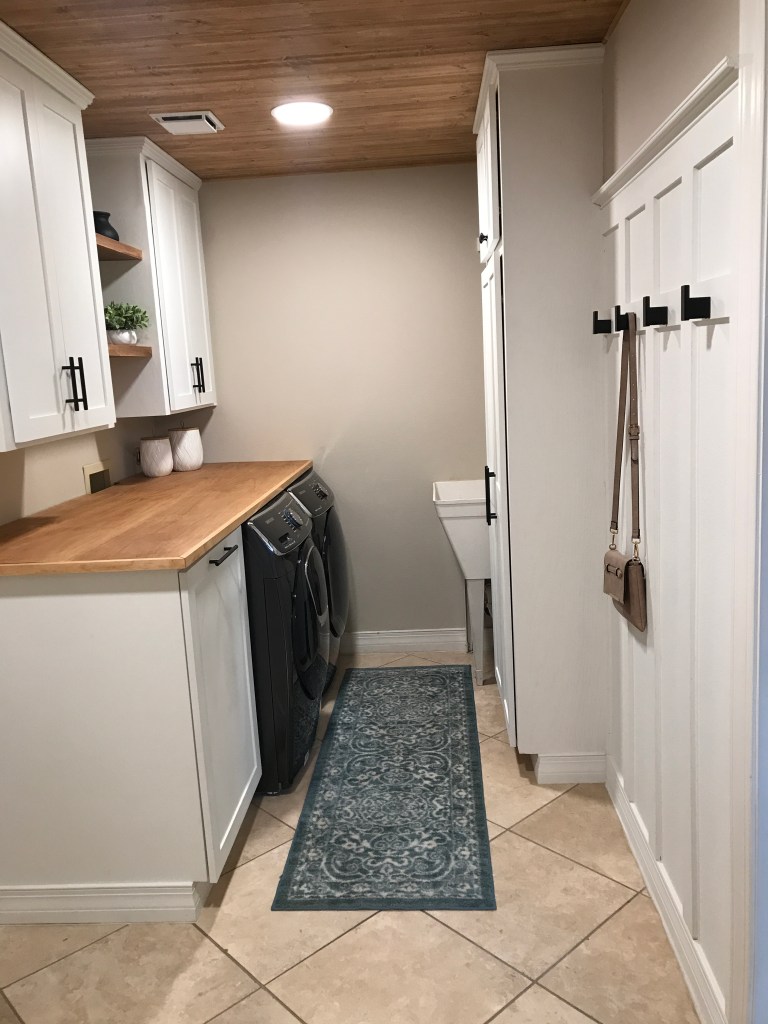
With our layout, this is the first room we walk into from the garage and it became a catch-all, and a MESS. I wanted to add some functionality, and make it prettier to look at in the process. My original plan was to add a wood plank ceiling, board and batten all around, and a small shelf over the washer and dryer. That plan didn’t last very long before I was making more work for myself.
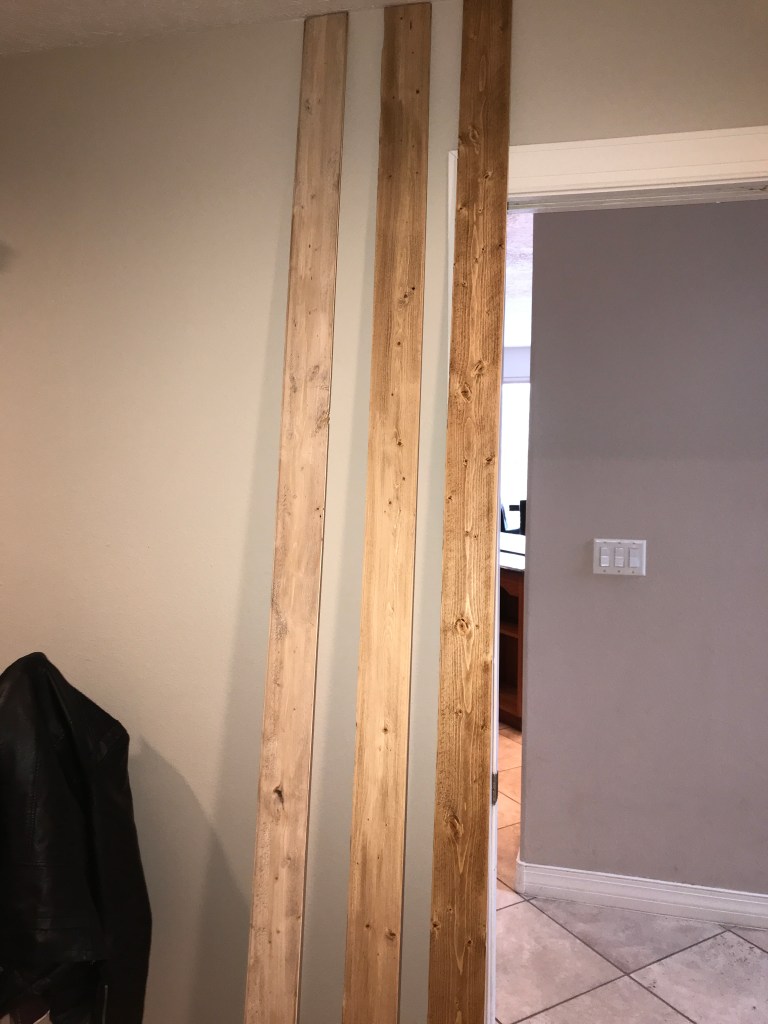
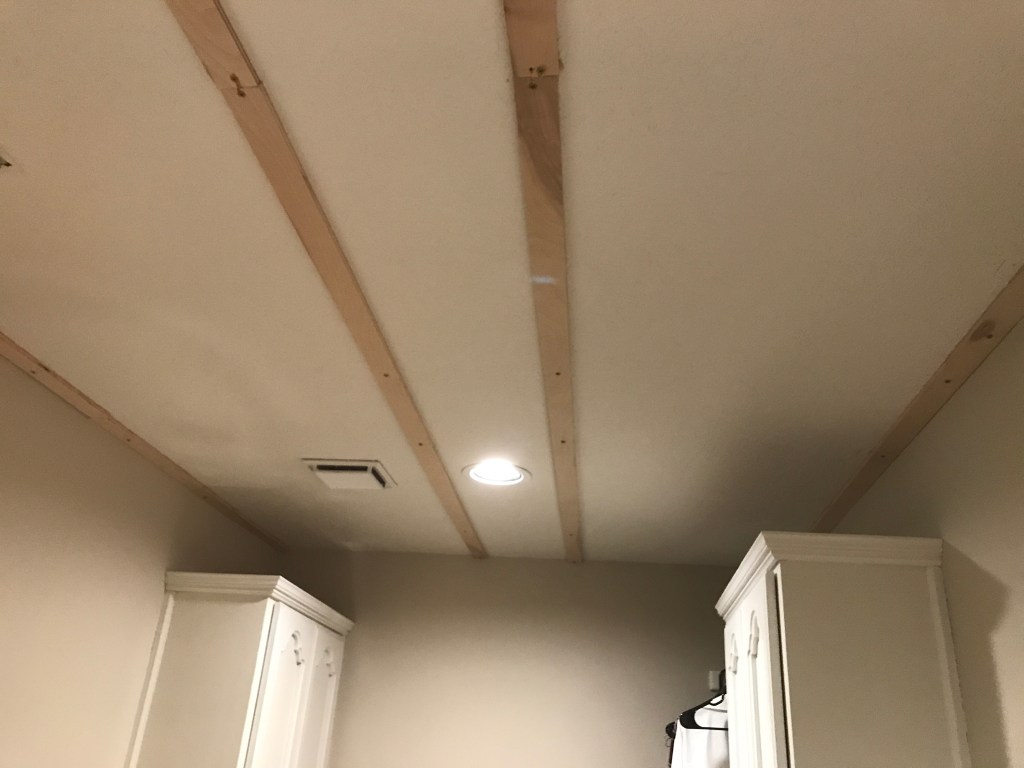
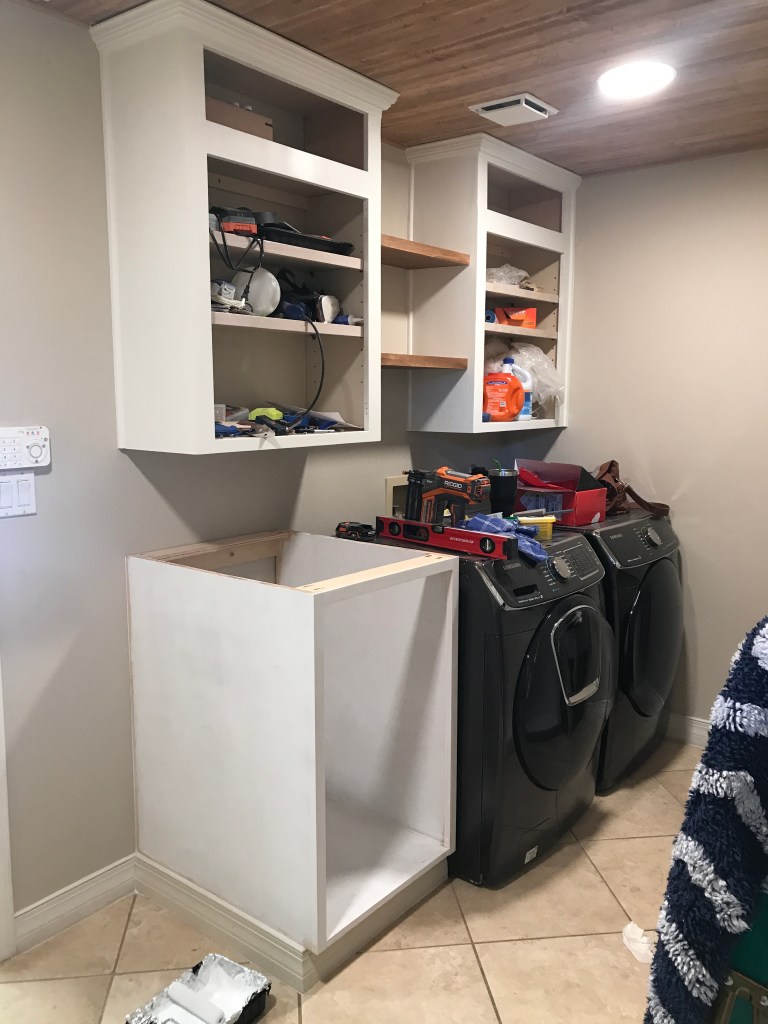
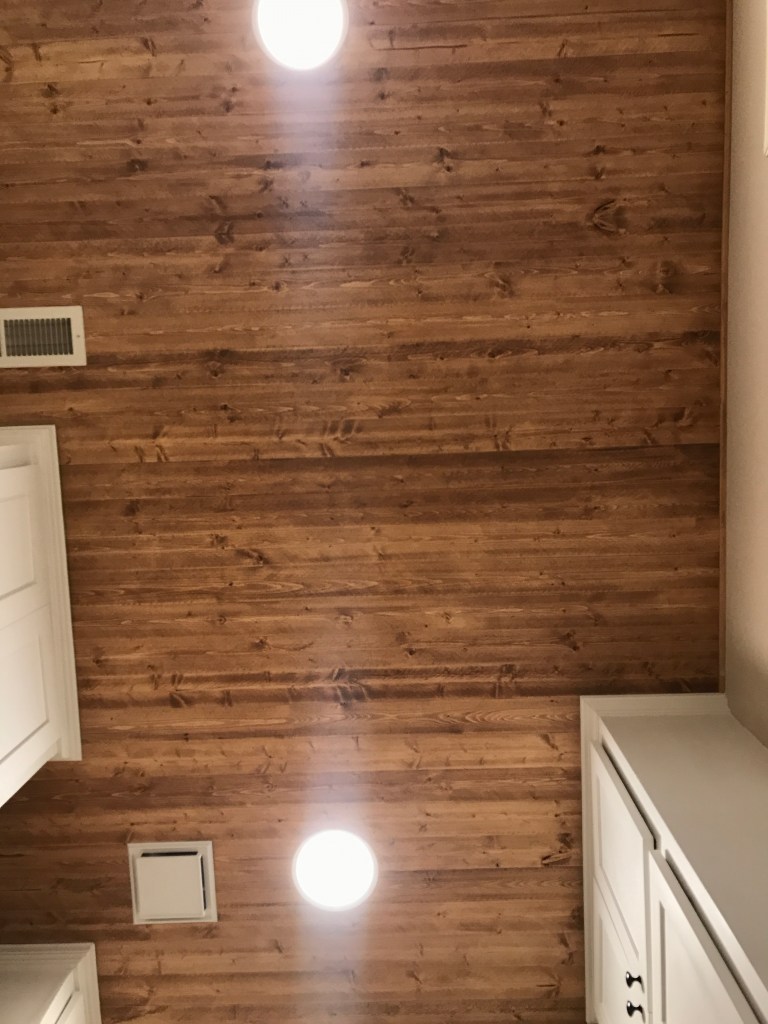
I installed the plank ceiling first. Using pre-made shiplap planks from Home Depot saved me a ton of time and effort. Picking out the stain color was the hardest part.
Since my ceiling joists ran parallel to the way I wanted my boards to lay, the first step was to install some furring strips which I could then attach the boards directly to with my brad nailer. This also gave me the benefit of putting less holes in my ceiling.

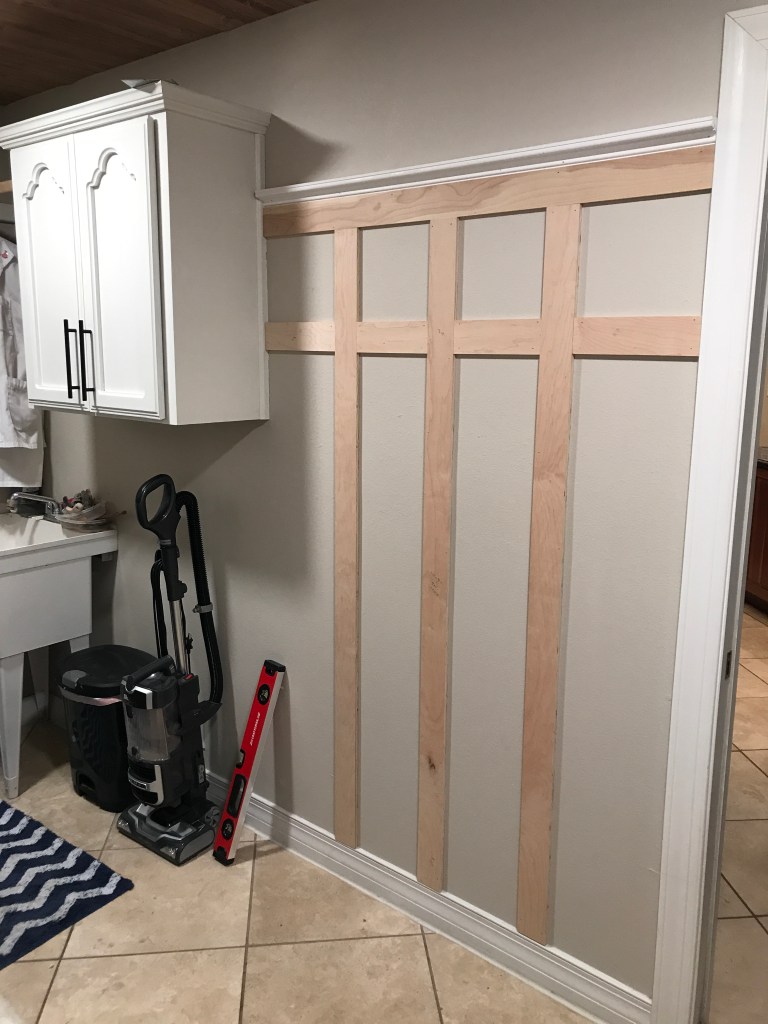
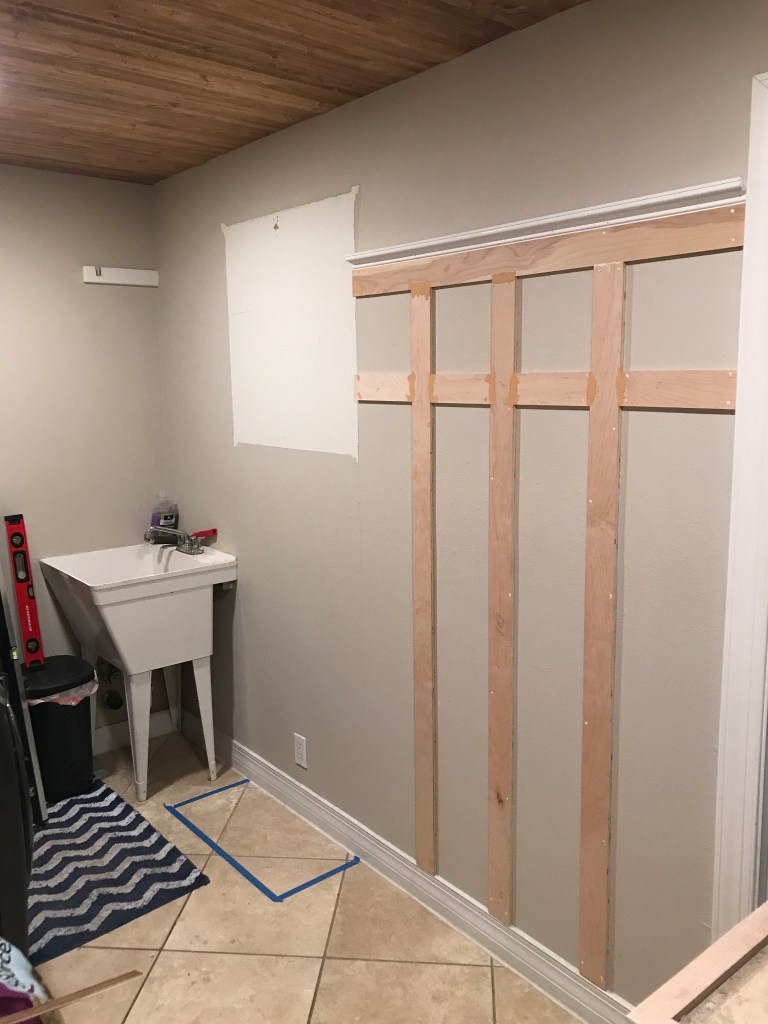
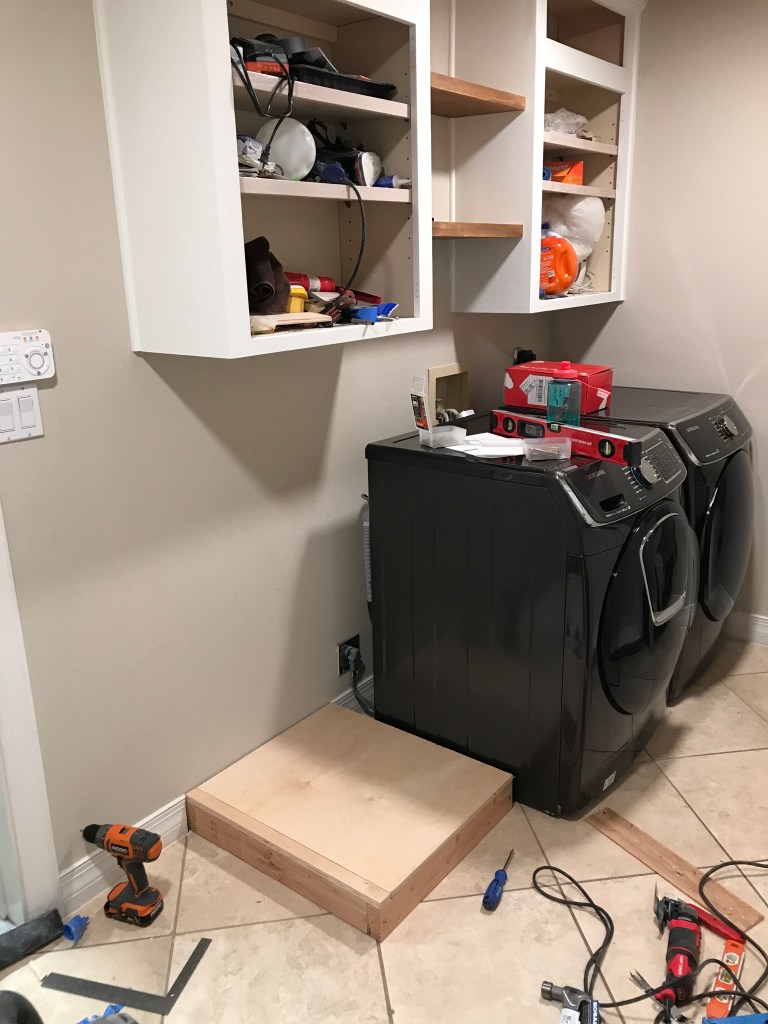
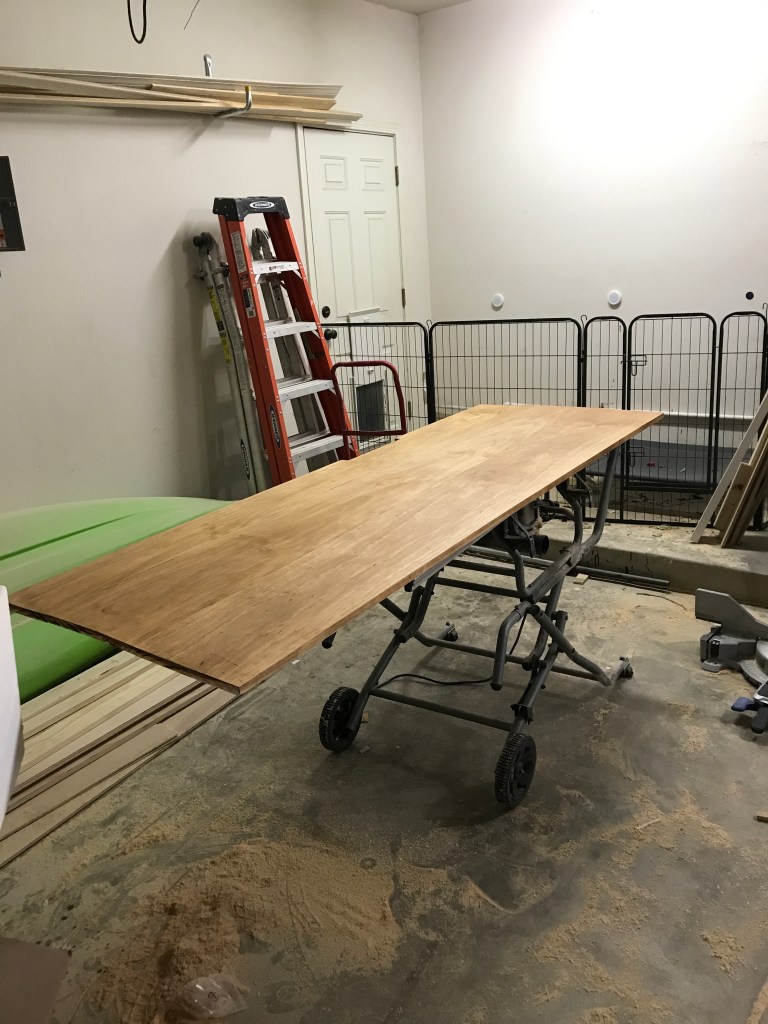
Next I installed the board and batten using 1/2″ plywood that I had ripped down to uniform size. Doing the math to make sure the boxes were all symmetrical was the hardest part. It was also during this stage that I decided to remove the existing cabinet and build a full-length one to replace it with.
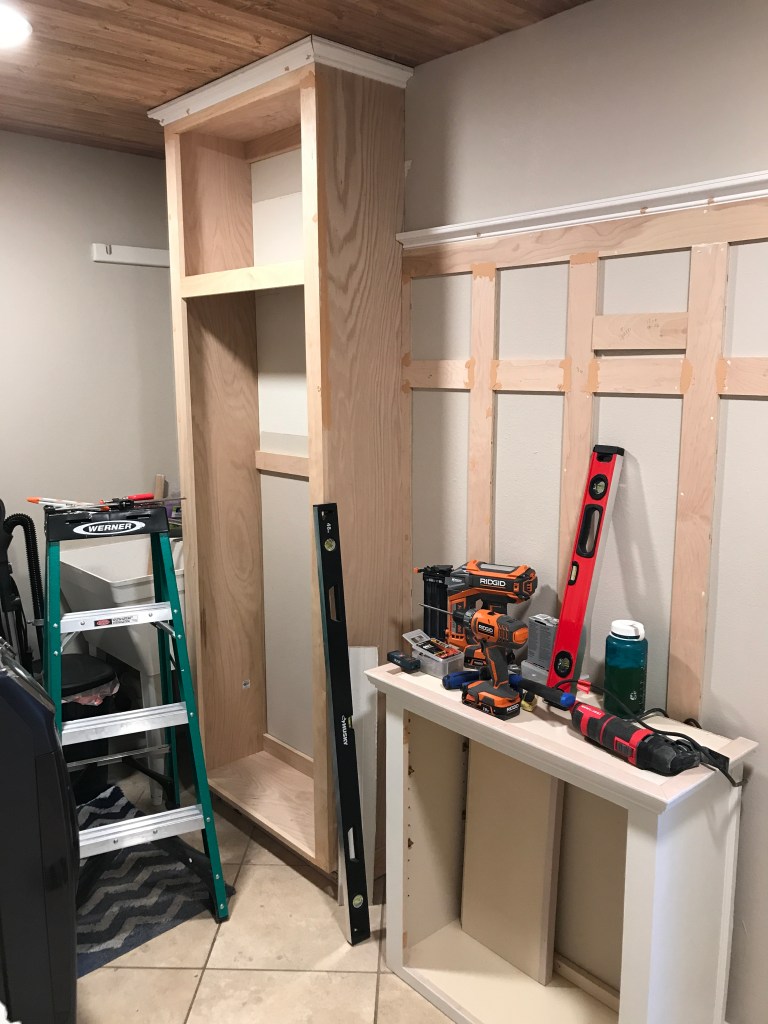
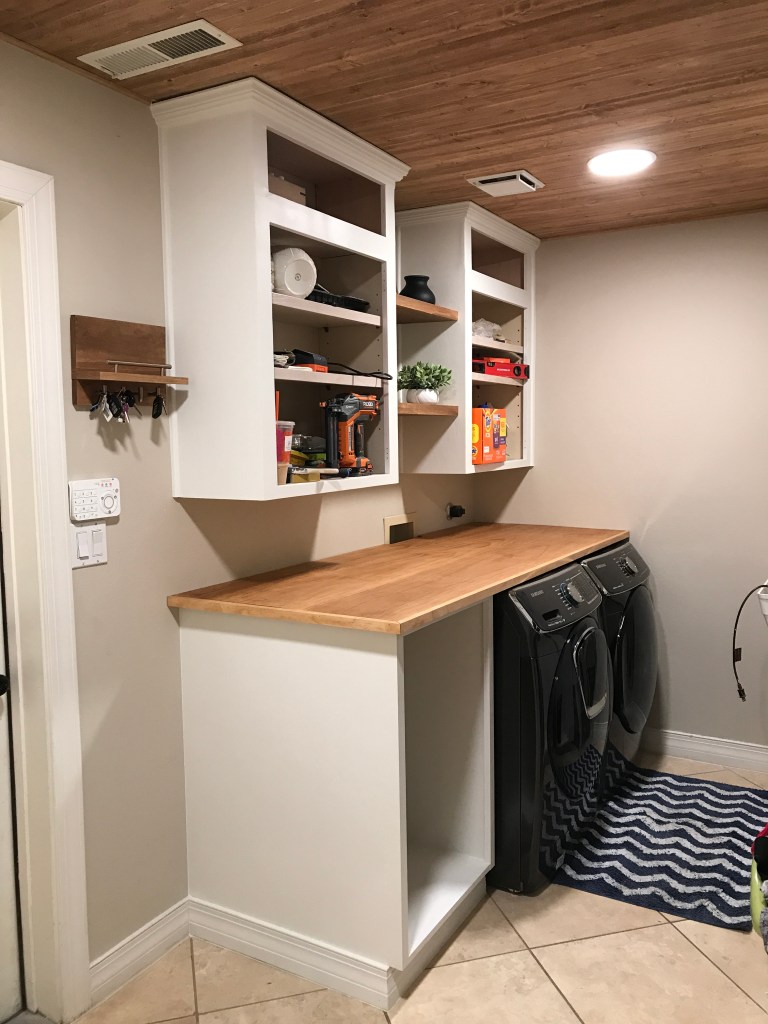
By moving the existing cabinet, it allowed me a space to hide the vacuum and all sorts of other unsightly cleaning supplies. I used the existing cabinets to build off of and by adding simple boxes to the top, I was able to build them to the ceiling to match.
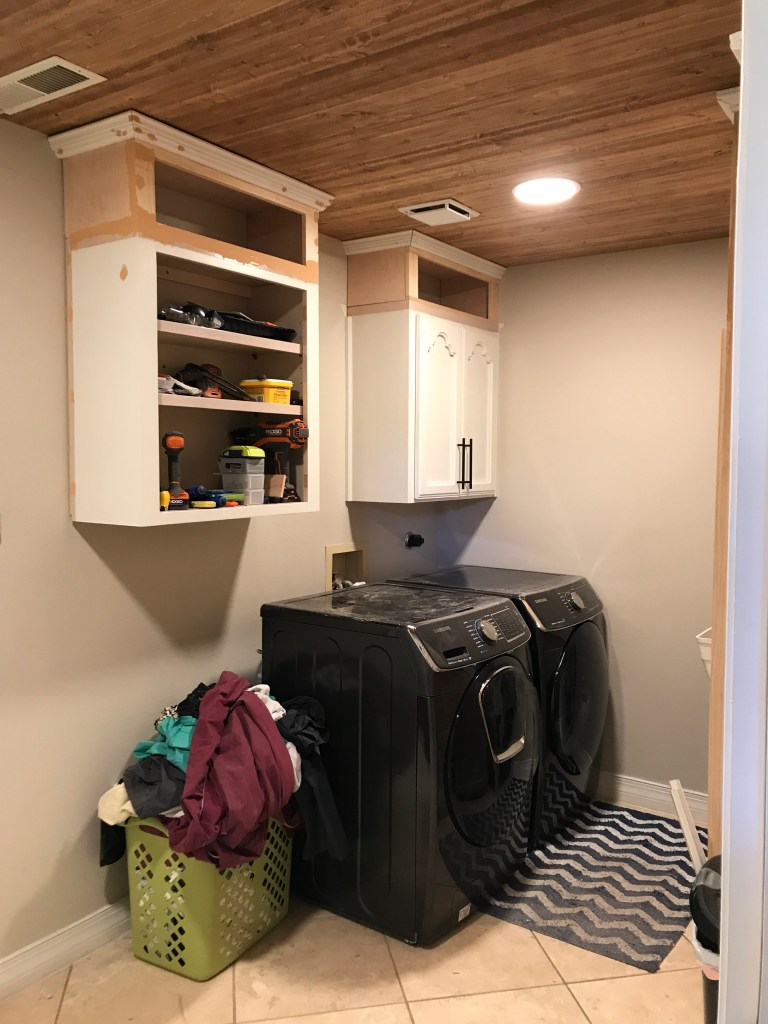
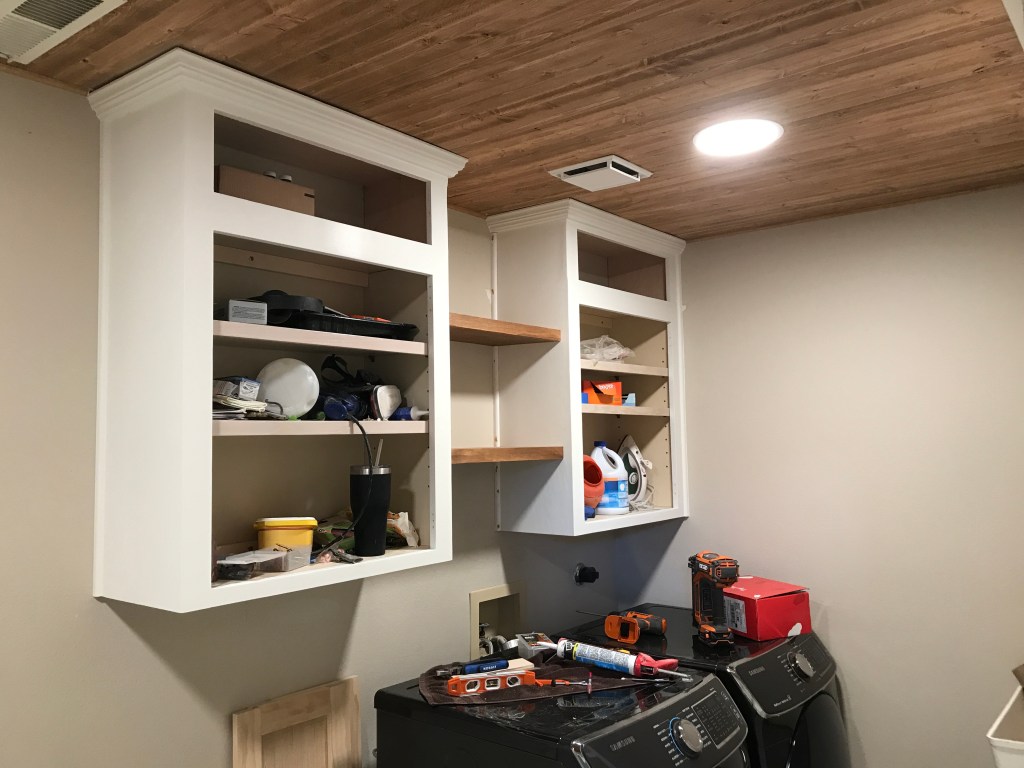
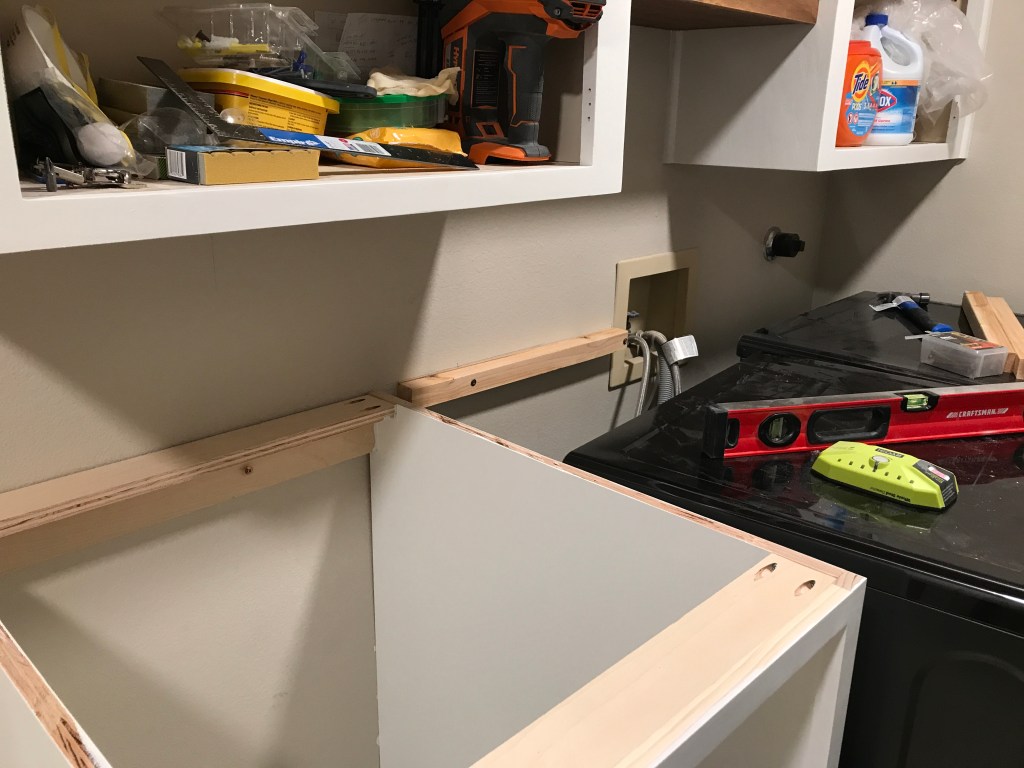
The hamper needed a place to live next. I built a simple base cabinet out of plywood, and installed a drawer for the hamper to sit on so that it is easily accessible. This would also serve as a support for the shelving that is above the washer and dryer.
Since a marble/quartz/etc. countertop was out of budget for this build, I decided on a simple butcher block style counter that matched the wood tone of the ceiling. I used 1×10 select pine connected with lots of wood glue and pocket joints, and then added a 1×2 frame around the edging to beef it up. It was super simple, and at a fraction of the cost of stone countertops that work perfectly fine for us for now.
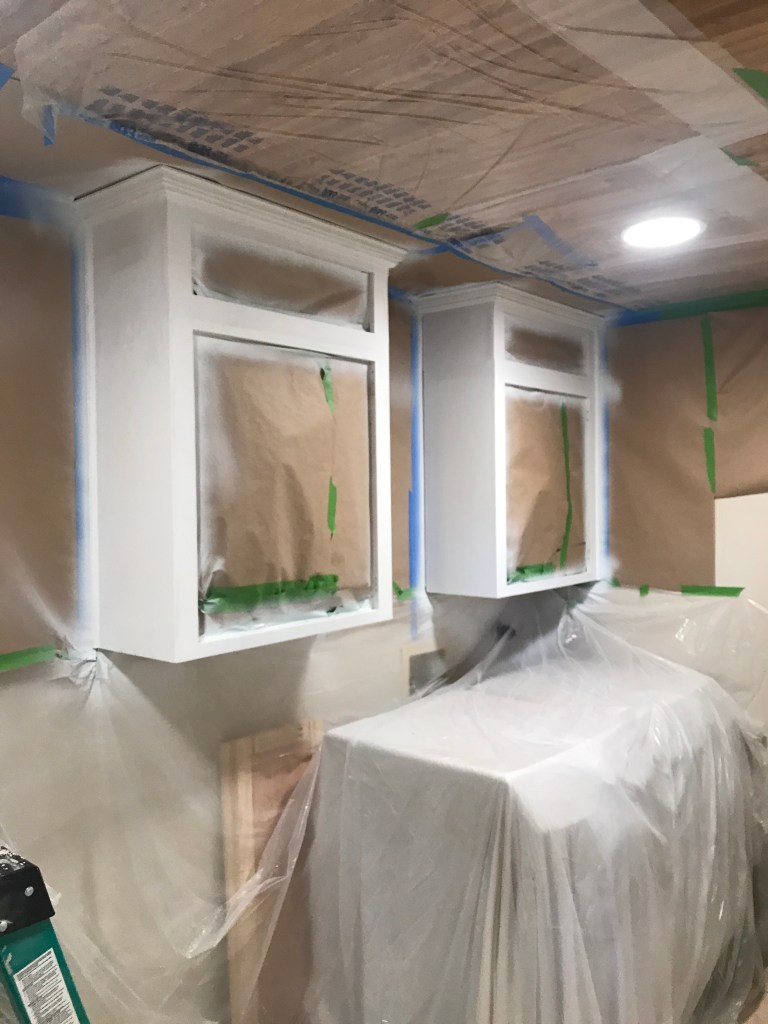
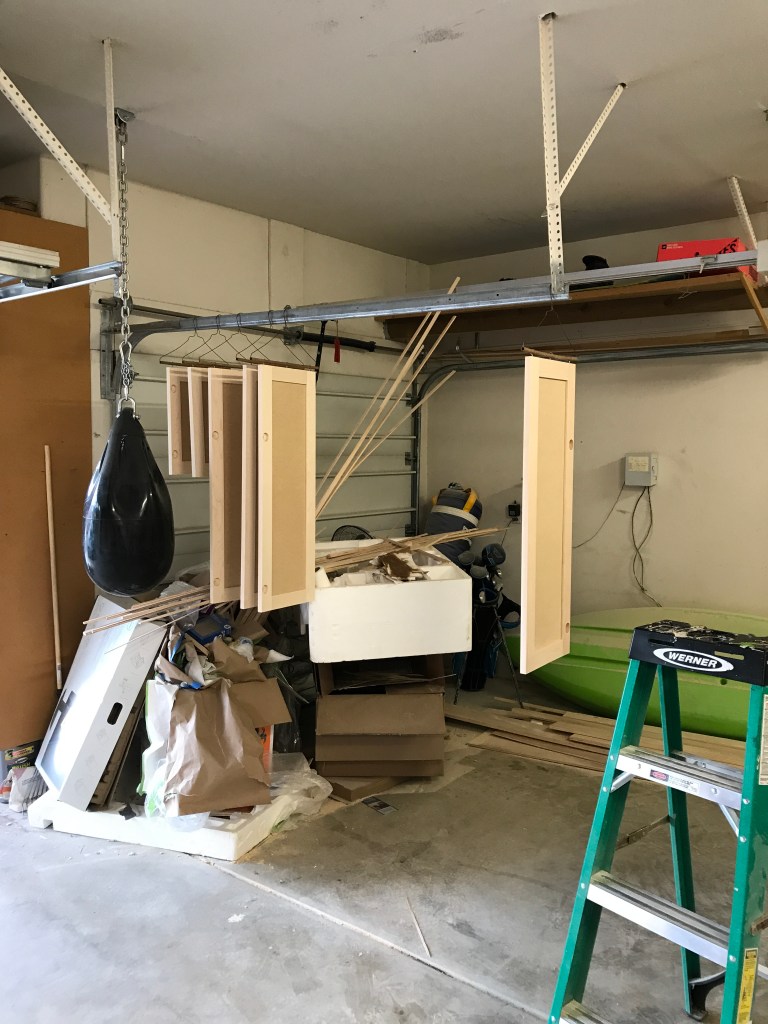
The final step was painting and installing the cabinet doors that I ordered from The Cabinet Door Store. I considered building my own doors, but in the interest of time and my sanity, I bit the bullet and paid. I’m honestly really glad I did, because the doors came in perfect condition with the specified measurements, and I had no issues with making sure they were square or didn’t hang properly.


Final touches of cabinetry pulls and decor went in, and I was ready for the final reveal!

Now that this project is done, it’s time for the next. Always forward!
