One of the very first projects that I tackled on the inside of the house was our stairway. It took weeks to finally convince my better half to let me attempt this first project, so when I say I did my research, that is an understatement. I went into this project knowing that if I wanted to continue this new hobby, I had better come ready to shine.
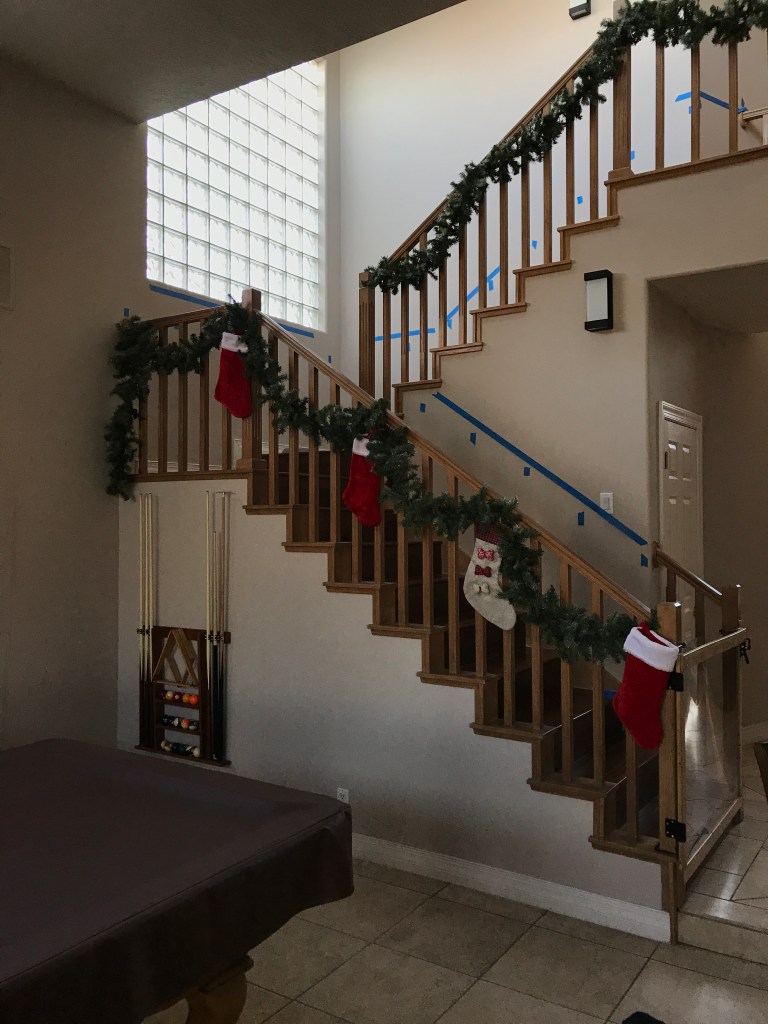
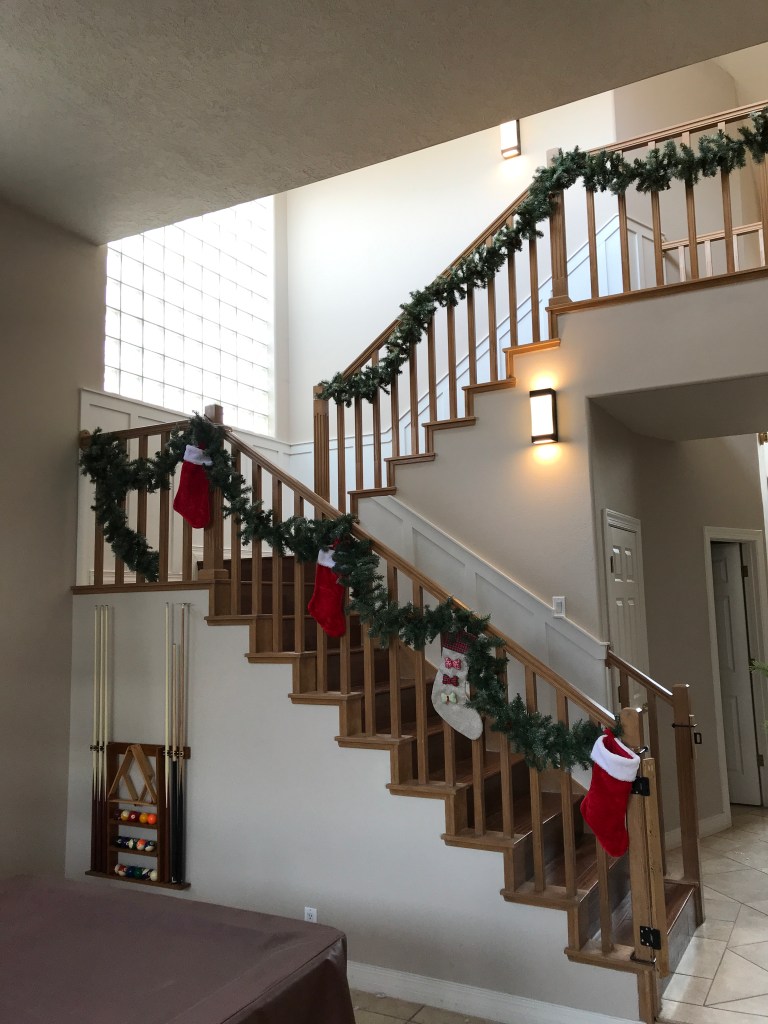
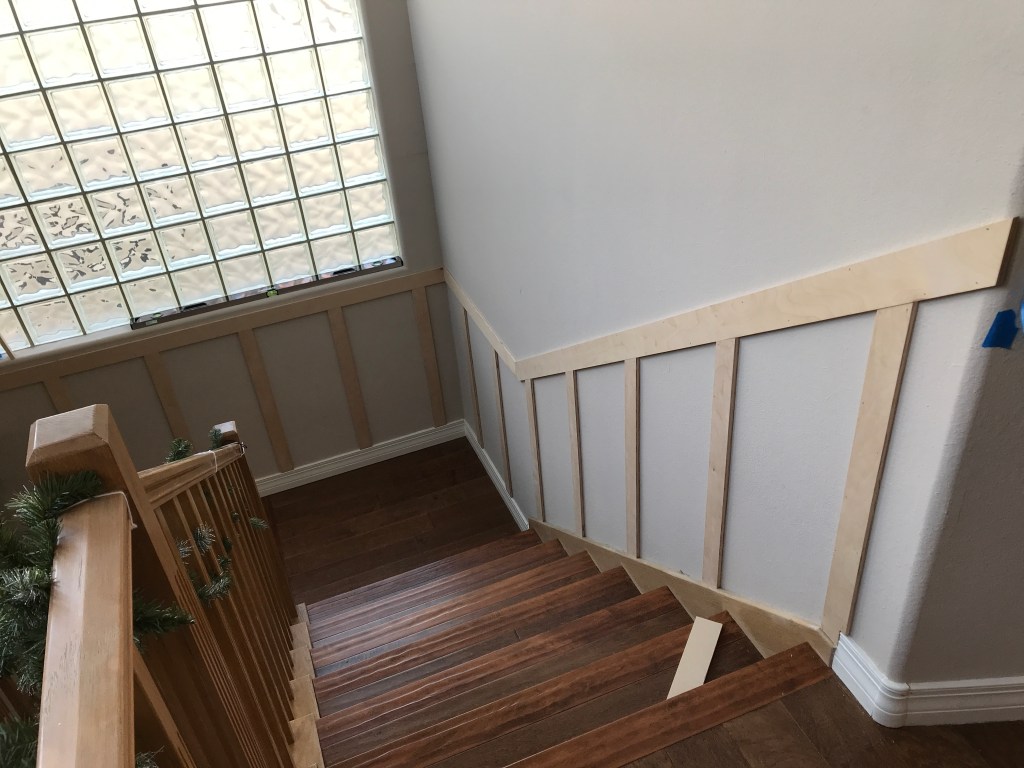
This was our stairway before; perfectly functional but lacking in character. I’m not one to put a photo gallery in the stairwell so I knew I needed to find another way to spruce it up, and this seemed like an easy enough project to start with (plus it gave me an excuse to go buy that table saw I had been eyeing up!)
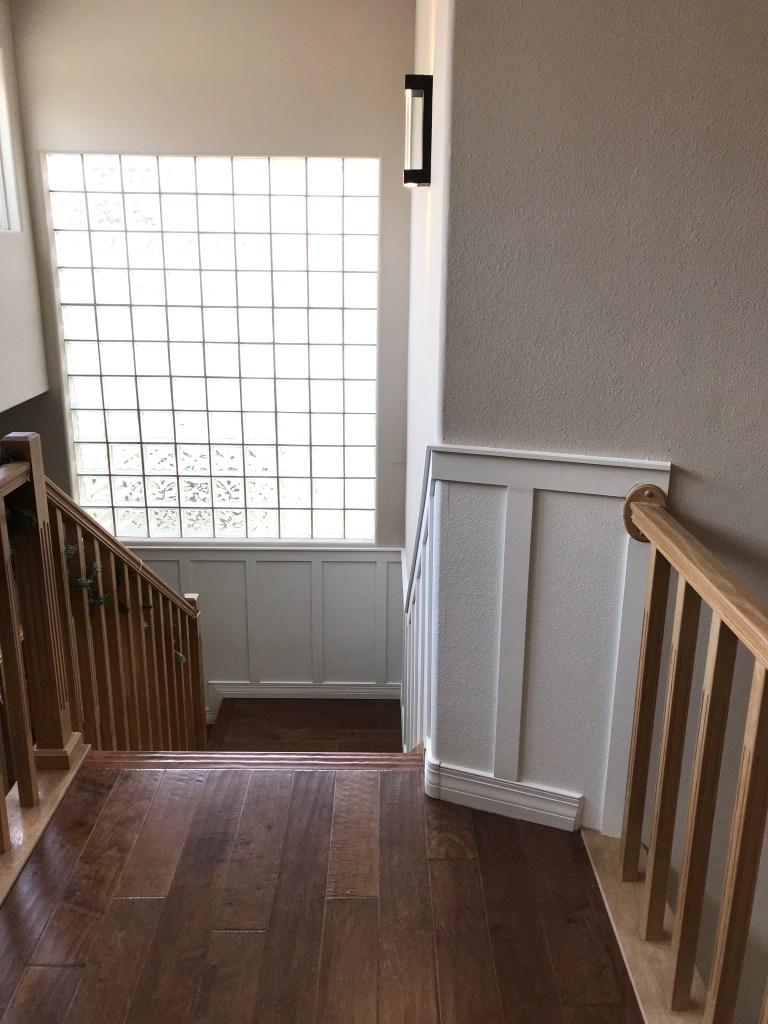
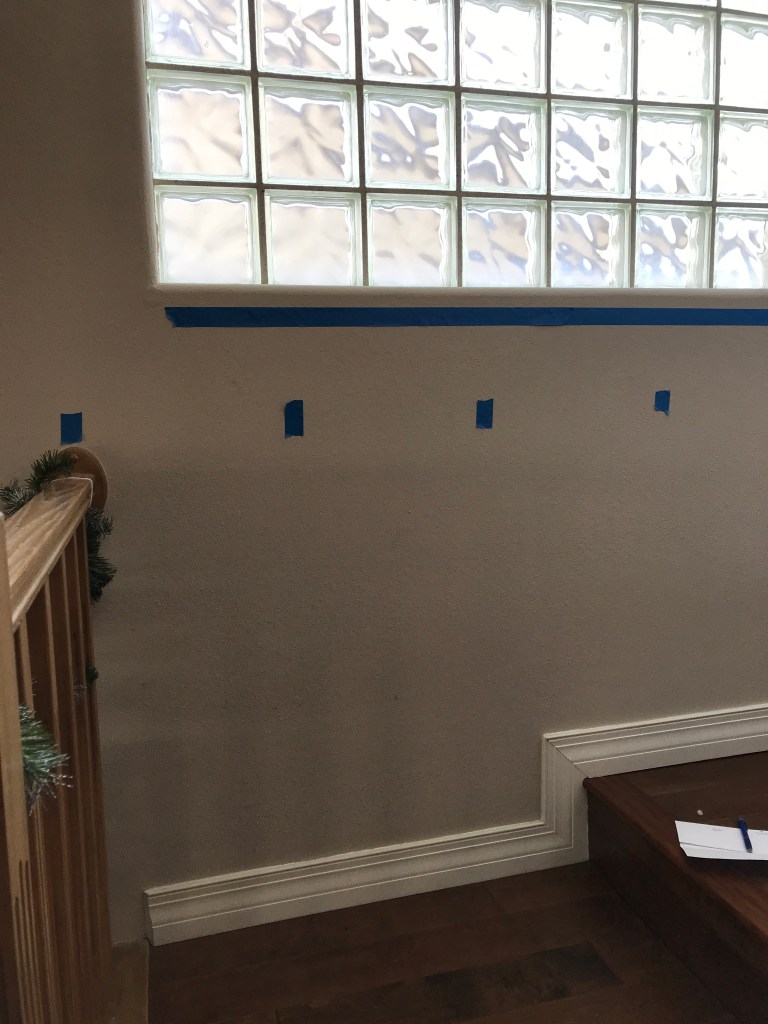
I started with taping out where I visually thought it would look best. This was a good idea as it helped me to think through some of the obstacles that I otherwise probably wouldn’t have noticed until it was too late. The major obstacle was that on our landing we have an additional step. I knew I wanted it to be level all the way across, and a continuous height from the bottom and top half of stairs, but for this to happen it was going to be higher on one end post than all the rest. I got lucky in the fact that the window was just high enough to allow that to happen, and I don’t even notice the unevenness now.
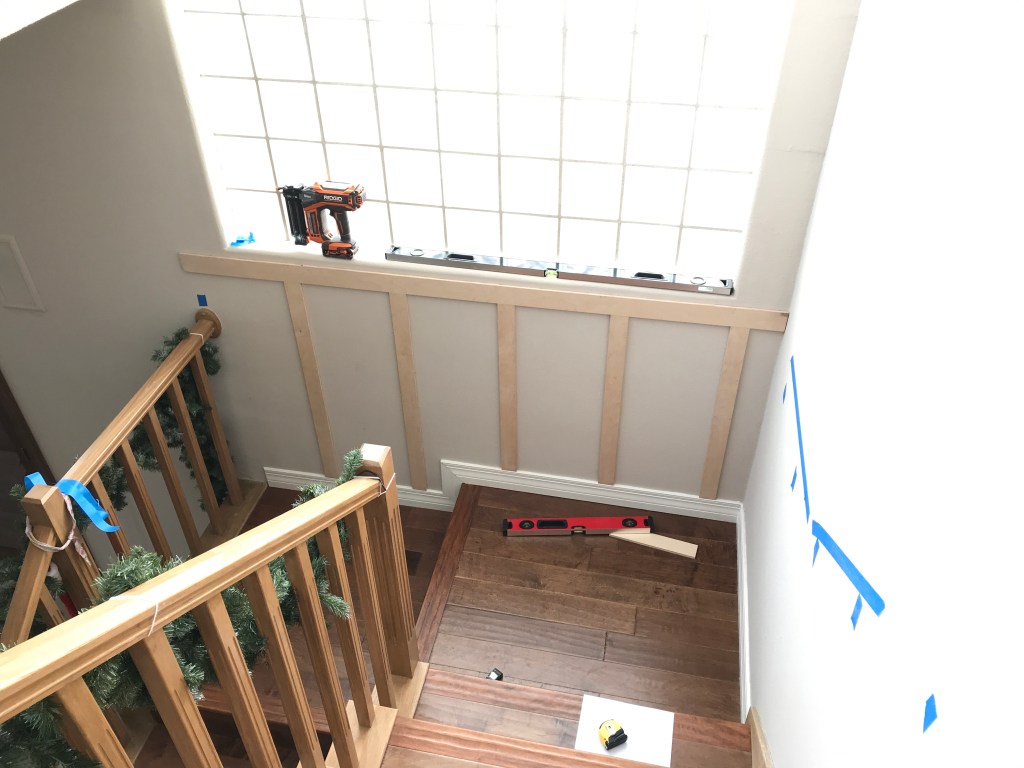
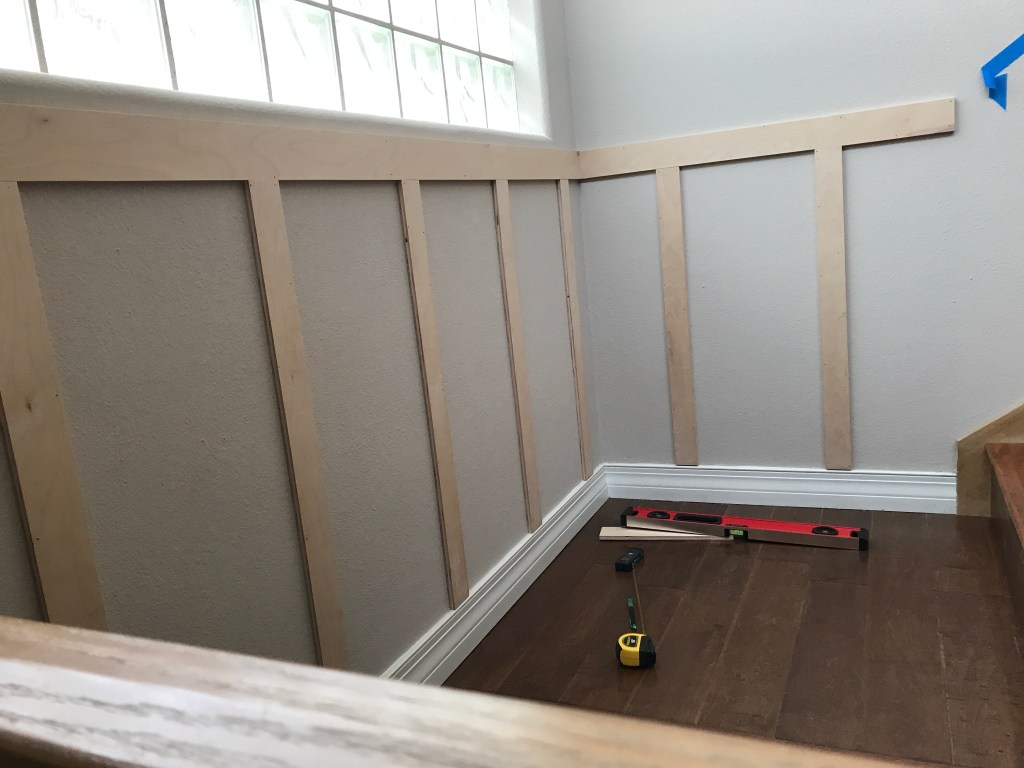
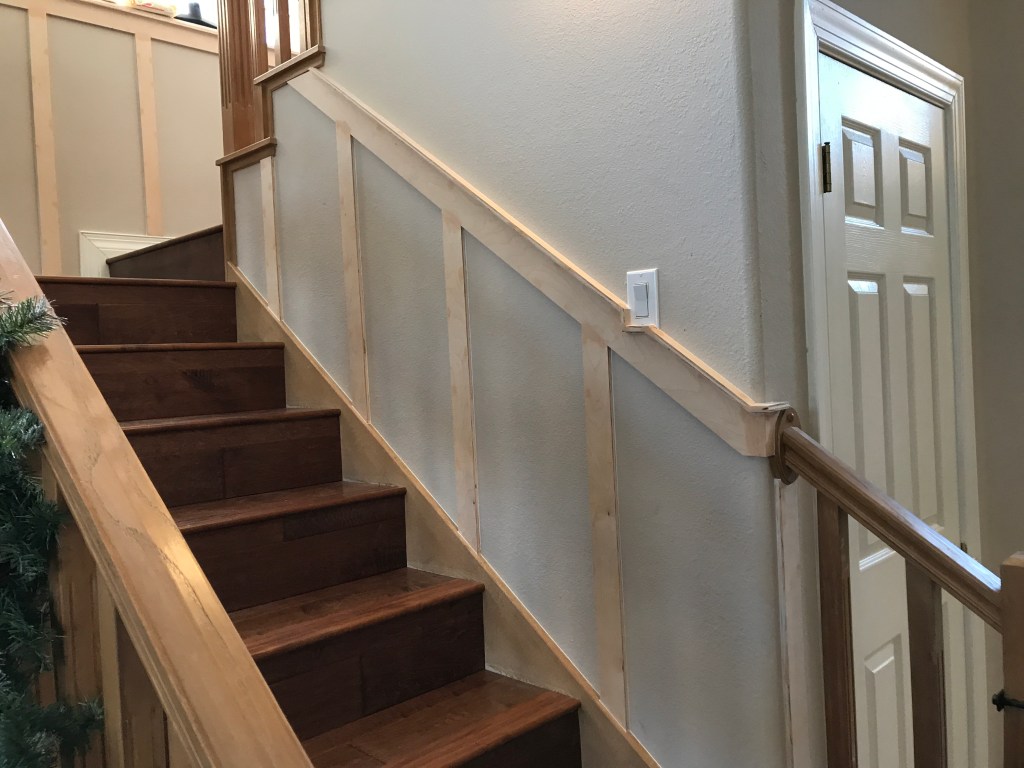
Once I had decided on my placement, I began ripping down my plywood on the table saw. I decided that I was going to do 3″ boards and 2.5″ battens. I began by placing my horizontal boards on the wall first, then trimmed by battens down as needed to make them fit as snugly as possible. I did not use any type of glue or adhesive to attached them to the walls. Using my 18g brad nailer and alternating the nail angles secured them extremely well on its own. Since this is not supporting any type of weight this should be sufficient for most board and batten installations. Plus this way if I ever decide to replace it, I will have much less drywall repair to do.
After finishing off all the woodwork, it was time to fill nail holes and caulk to prep for paint. When filling nail holes, make sure to overfill as it will shrink as it dries. This saves you from having to go back and add a second layer on before you can start sanding. When this was done, I caulked along all the edges where the wood met drywall. This step is crucial if you want that professional look at the end, as even after painting gaps will be present without caulk.
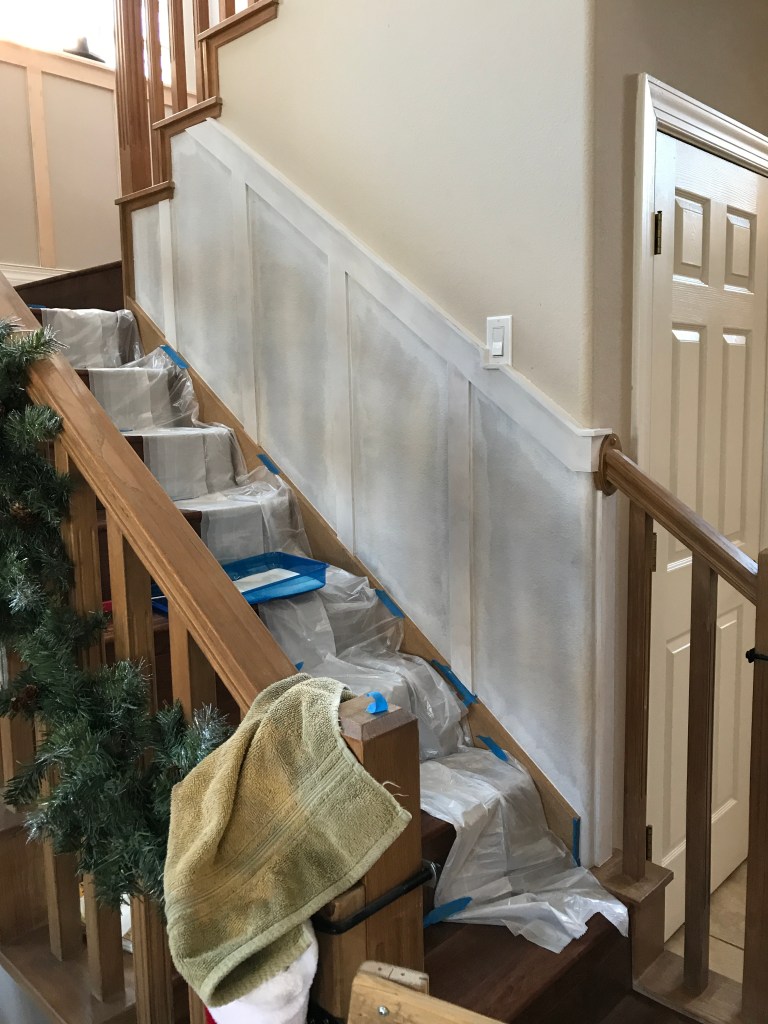
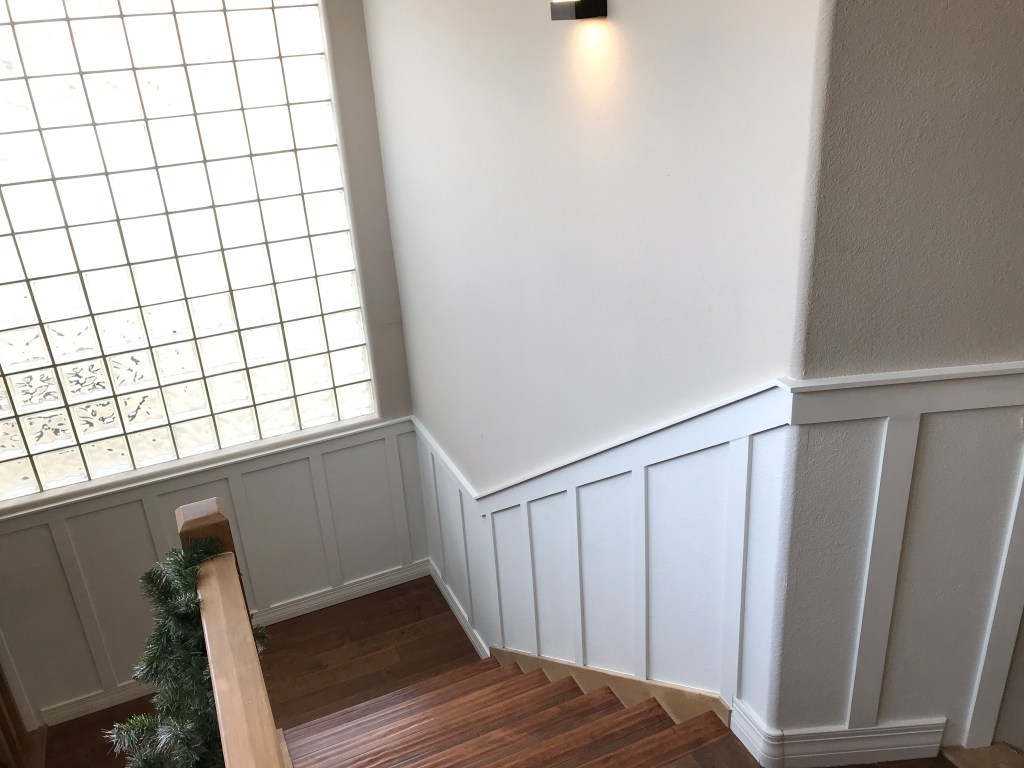
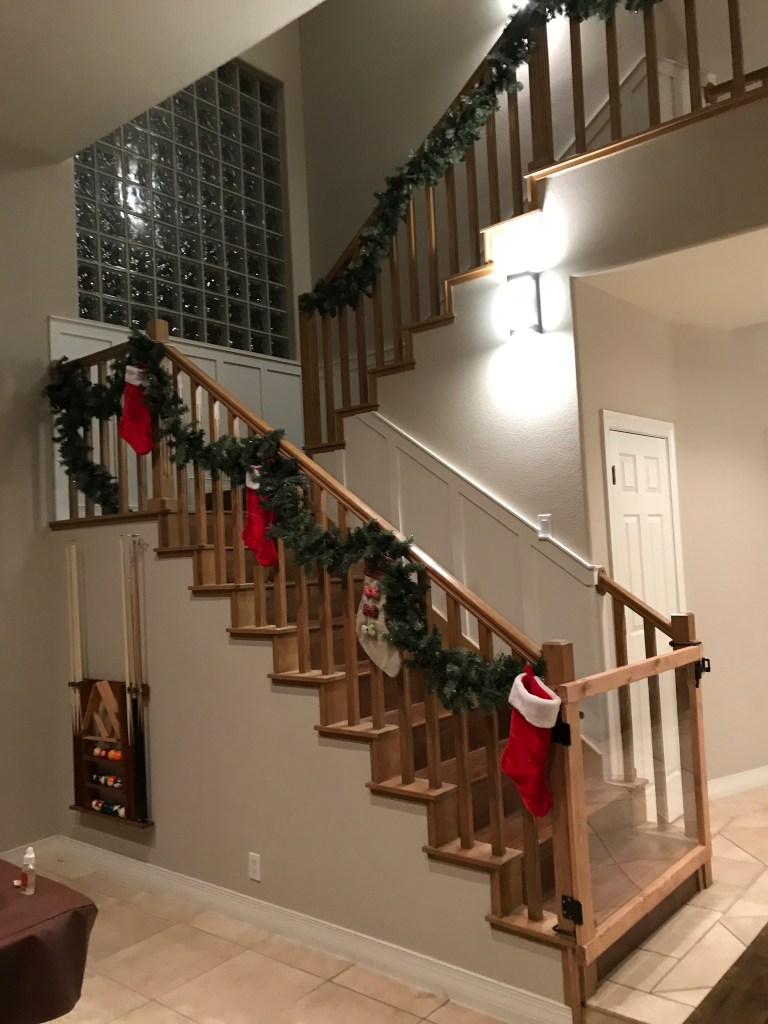
I painted this the same color as all the other trim in our house, Sherwin William’s Alabaster. It pulls as the perfect creamy white in our space. This took one coat of primer and two coats of paint for full coverage. I love that it makes it cohesive with the rest of the house and looks like it has always been there. Do you think you could do something like this in your own home? Let me know in the comments!